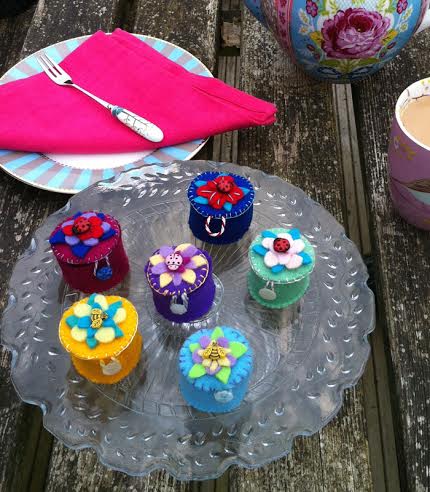

In part two of our series of easy summer makes, Made by Maggie’s Maggie Robb shows you how to turn scraps of felt into the cutest little tape-measure holders – the perfect summery gift, they look good enough to eat!
“It’s a real pleasure to make these adorable little treats – from choosing the lovely shades of felt to sourcing a special centerpiece button. Once you get into your stride, you’ll be able to finish one in about an hour, and the bits and pieces you’ll need can fit snugly into a small purse for easy portability – the perfect way to while away a summer’s afternoon in the park or back garden.”
You Will Need –
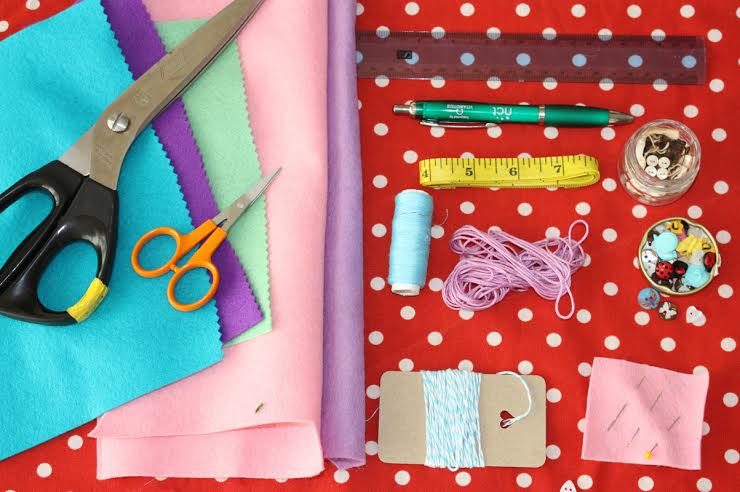
Pieces of felt of different colours – a main colour plus two different complimentary shades for the flower petals and a green for the leaves.
Tip –If you can, use thick felt with a high wool content which is stiffer and softer than 100% acrylic felt and often comes in prettier, more subtle colours.
Sewing cotton in a matching shade to your main piece of felt
Embroidery thread in a contrasting colour to your main piece of fabric
Scissors
Needles and a pin
A novelty button to go at the centre of your flower
Bakers’ twine or thin cord for the loop
A small button to fasten the loop
A fabric tape-measure
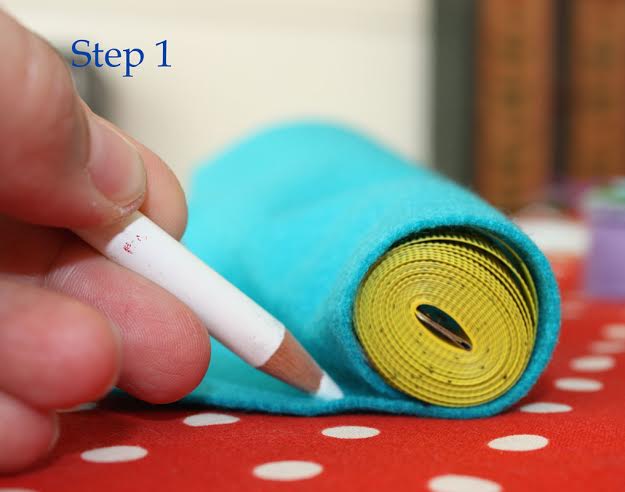
Step 1 – With your tape-measure rolled up tightly use it as a guide for size and cut out three identical circles of felt – two for the lid and one for the base. Then wrap a piece of felt around the side of your rolled tape-measure to discover the length and height of your straight piece.
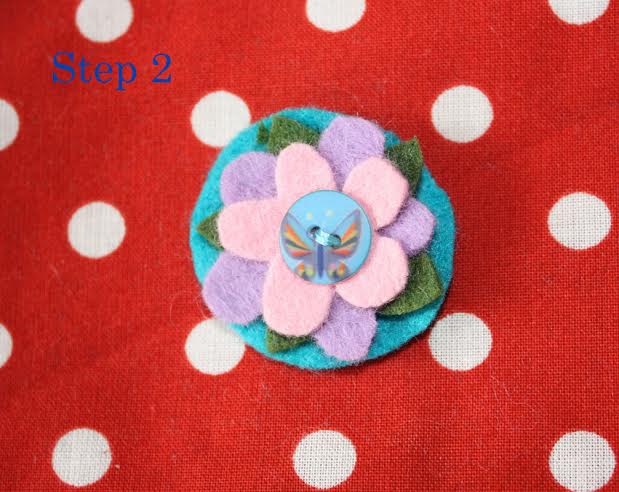
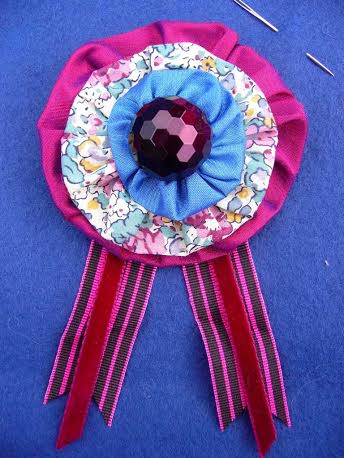
Step 2 –Cut out a flower shape with five petals from each of your contrasting shades of felt. It’s best if your top petal shape is slightly smaller than the one underneath. Arrange with your green piece at the bottom and the two petal pieces on top. Fasten with a couple of stitches using the cotton thread. Then stitch in place your novelty button, centering it in your flower to cover up your stitches.
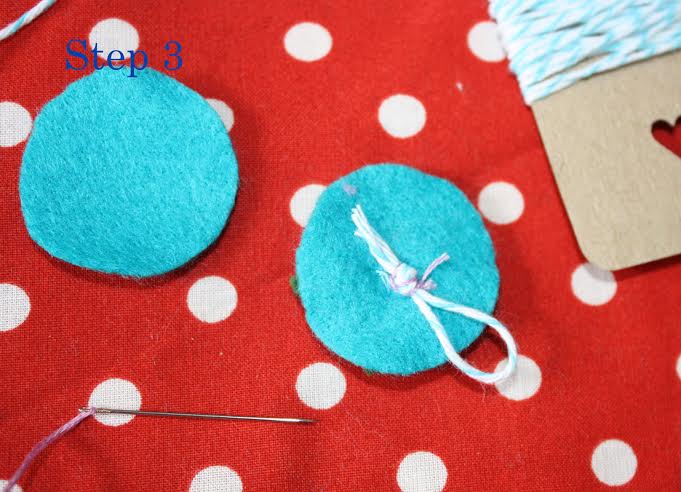
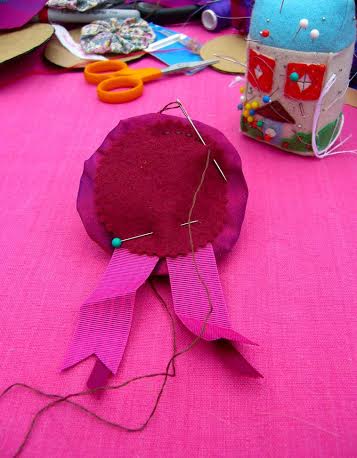
Step 3 – Cut a short piece of bakers’ twine and tie it into a loop. Secure it to the underside of your top lid piece with a couple of stitches so that the loop hangs beyond the edge of the circle.
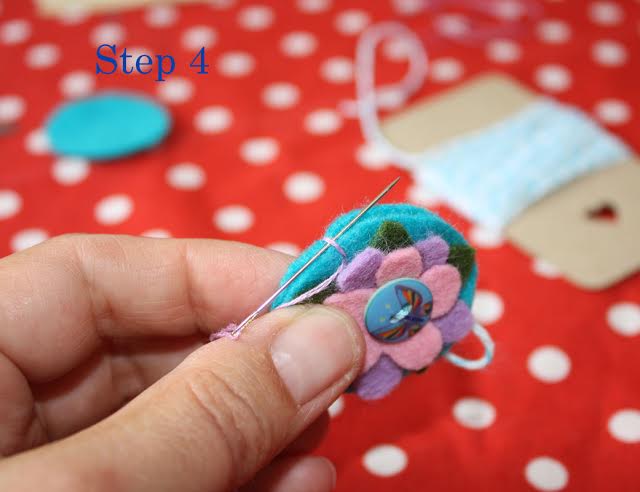
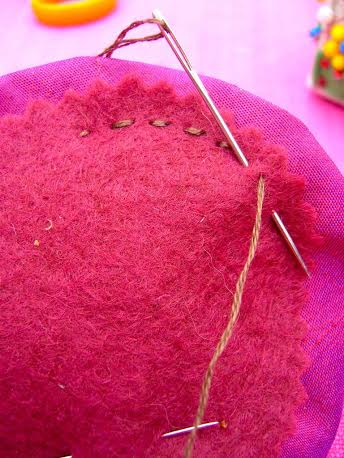
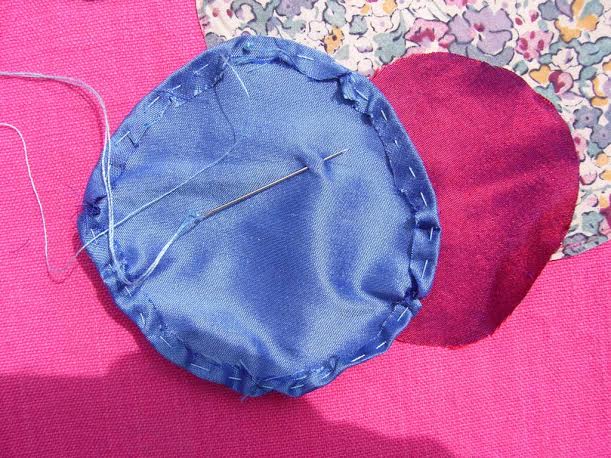
Step 4 – Pin your bottom lid circle to the top one allowing the loop of twine to hang out between the two pieces. Then using a needle threaded with two strands of the embroidery thread, and beginning opposite the twine loop, sew the two pieces together using a neat blanket stitch.
Tip – Blanket stitch looks great against the colour and texture of felt – for easy to follow tutorials on how to master this decorative and versatile stitch, check out the internet and have a practice on some scrap fabric first. Once you’ve got the hang of it, you’ll be hooked!
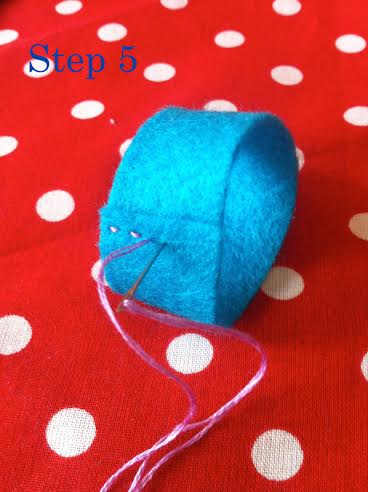
Step 5 – Now take your straight piece of felt and roll into a pipe shape. Use your rolled up tape measure to check that it will fit snugly but not too tightly inside the pipe. Then with two strands of embroidery thread in you needle secure the pipe with a neat row of running stitches. For added security and neatness close the edge of the join with another row of blanket stitch.
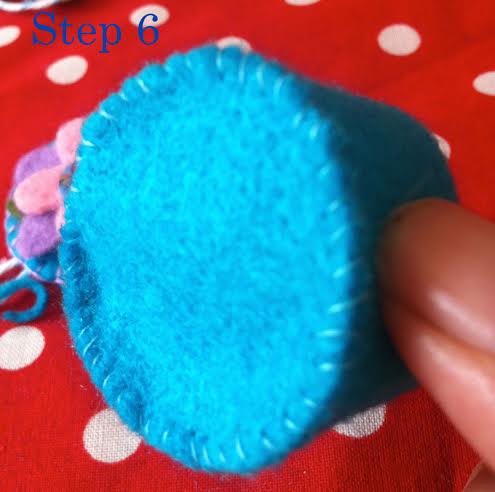
Step 6 – Thread your needle with the sewing cotton. You’re going to attach the edge of your 3rd felt circle to the bottom edge of the felt tube. If you need to, trim away any excess from the circle as you sew. For extra neatness make your starting point just beneath the seam of the tube.
Step 7 – To strengthen the open top lip of you holder and to help the lid sit neatly in place, seal it with a line of blanket stitch using the cotton thread. As before, start and finish at the seam of the tube.
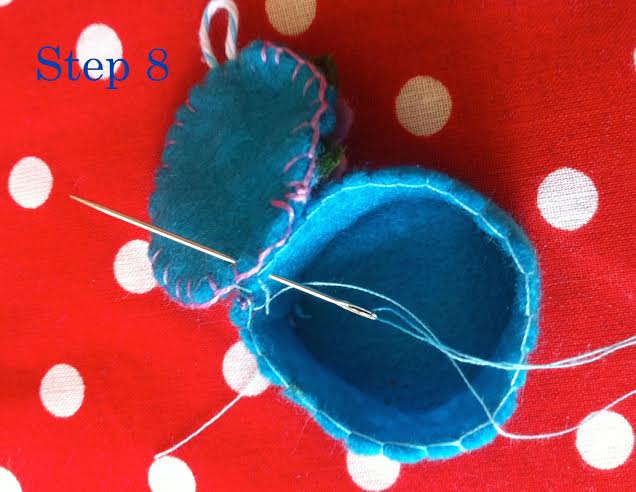
Step 8 – Attach your lid to the felt tube with a couple of stitches. Make sure that you line up the lid so that the join is directly opposite the bakers’ twine loop.
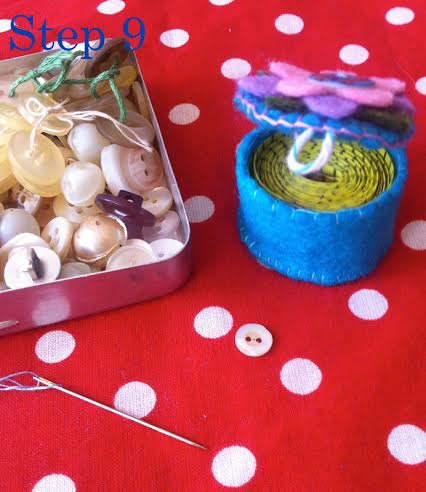
Step 9 – Choose a small button for the loop to fit over and sew it into place.
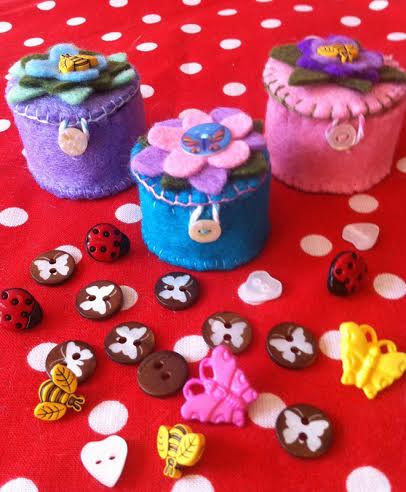
Step 10 – insert your tape-measure and feel pretty pleased with yourself!
Bet you’ll want to make another one! They’re very moreish.
For more lovely things and good ideas, visit https://www.facebook.com/MadebyMaggie07