Henley Royal Regatta 2015

Henley Royal Regatta is one event we look forward to each year with much excitement. Henley Regatta is a huge highlight if you love fashion and style like us. Planning what to wear is one of the main things on most ladies lips. Do you wear a hat? What length dress is acceptable. Well read on if you need a little insight!

If you are attending the event and don’t have a ticket for any enclosures then the dress code is whatever you like. Its free entry to Henley but some bars along the river bank will charge for you entry to get in. From £10-£50. Like The Mahiki Bar that will have various charges the later into the evening you go. It can become a rather expensive day out so be prepared to save those pennies if your planning on partying a little harder!

When in the stewards enclosure the dress code is smart, but ladies those dresses can be above the knee if you like. Unlike the Royal enclosure that has a very strict dress code. Below the knee dresses for the ladies, no trousers or jumpsuits and most certainly wear a hat. Gentlemen hats are an option…No shorts or denim and good breading depicts blazers.

Thousands of vivacious and stunning visitors plan their wardrobes in advance for this 5 day event. For us its the main reason to go, aside from the fizz and the rowing! Also catching up with good friends from all over the world.

As you may already know myself and my photographer husband like to portray any event in a more visual way. So here are a few snaps of the Saturday when we attended. Henley Royal Regatta 2015-2 Henley Royal Regatta 2015-2 Henley Royal Regatta 2015-2 Henley Royal Regatta 2015-2 Henley Royal Regatta 2015-2 Henley Royal Regatta 2015-2 Henley Royal Regatta 2015-5 Henley Royal Regatta 2015-2If you are planning an event and need photography services nip over to www.2boxes.co.uk We can help you with everything you may need. Now back to the fashion scene we snapped.Henley Royal Regatta 2015-11 Henley Royal Regatta 2015-12 Henley Royal Regatta 2015-2 Henley Royal Regatta 2015-2

This lady created this stunning hat herself!

Henley Royal Regatta 2015-22 Henley Royal Regatta 2015-23 Henley Royal Regatta 2015-25 Henley Royal Regatta 2015-2 Henley Royal Regatta 2015-2 Henley Royal Regatta 2015-2 Henley Royal Regatta 2015-2 Henley Royal Regatta 2015-33 Henley Royal Regatta 2015-34 Henley Royal Regatta 2015-2 Henley Royal Regatta 2015-1 Henley Royal Regatta 2015-1 Henley Royal Regatta 2015-1


We had the most incredible day and if you want to see more from our day just nip over to slbstyle.com in a few days time to see the fun we had! Henley Royal Regatta 2015-2

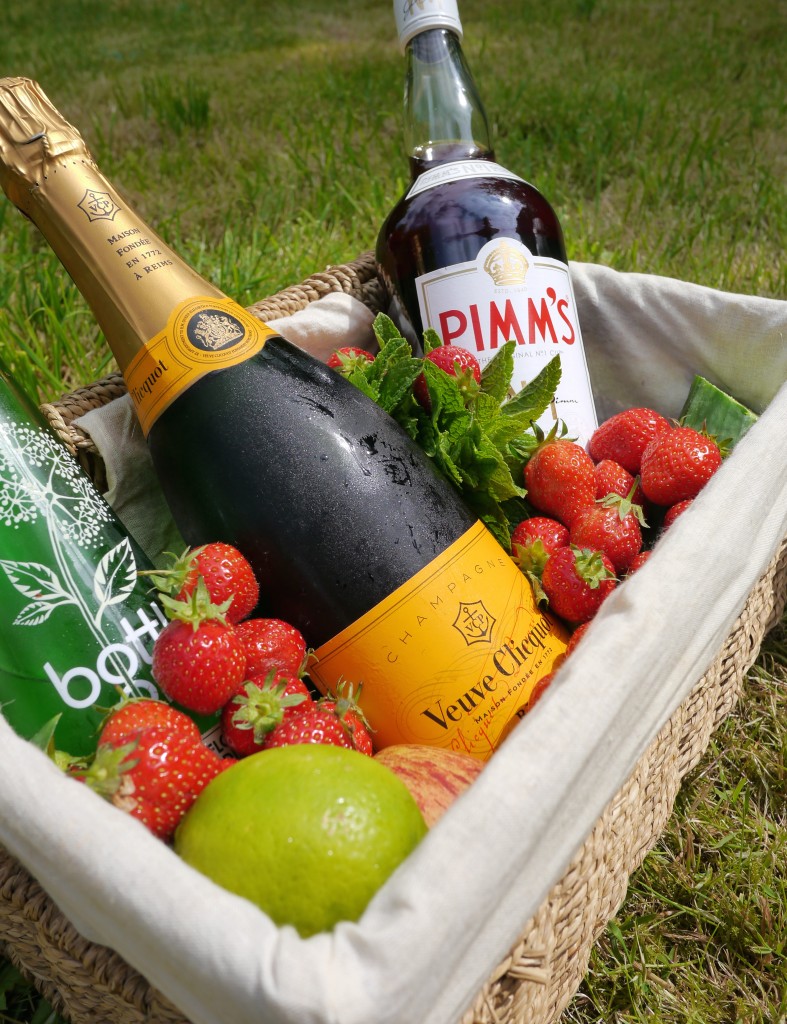
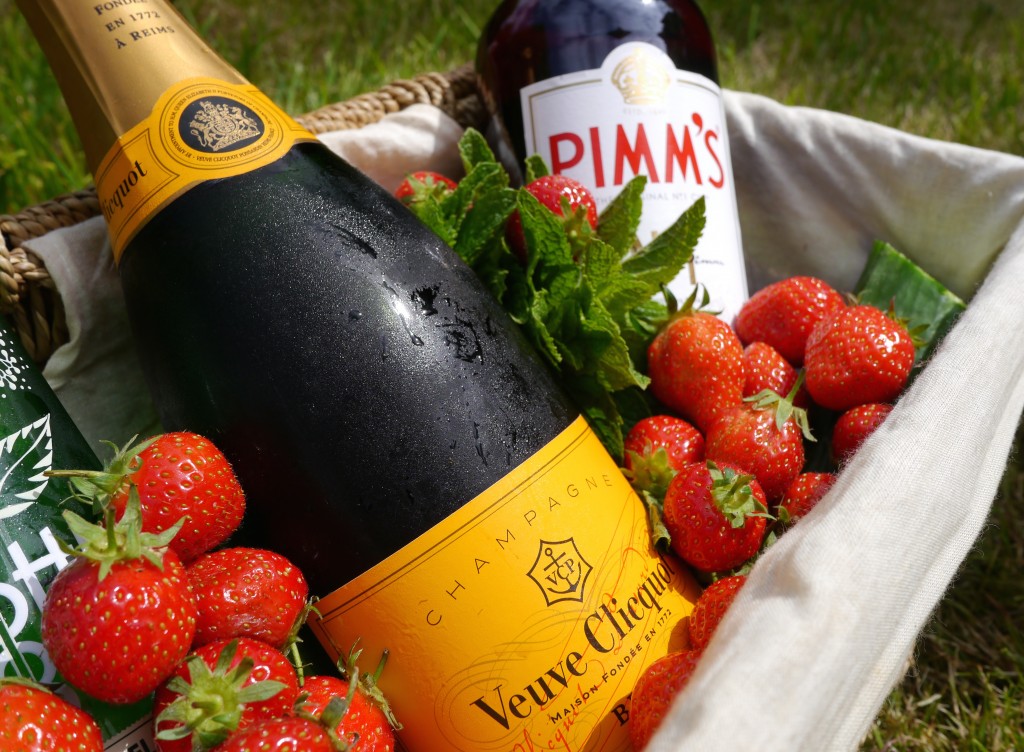
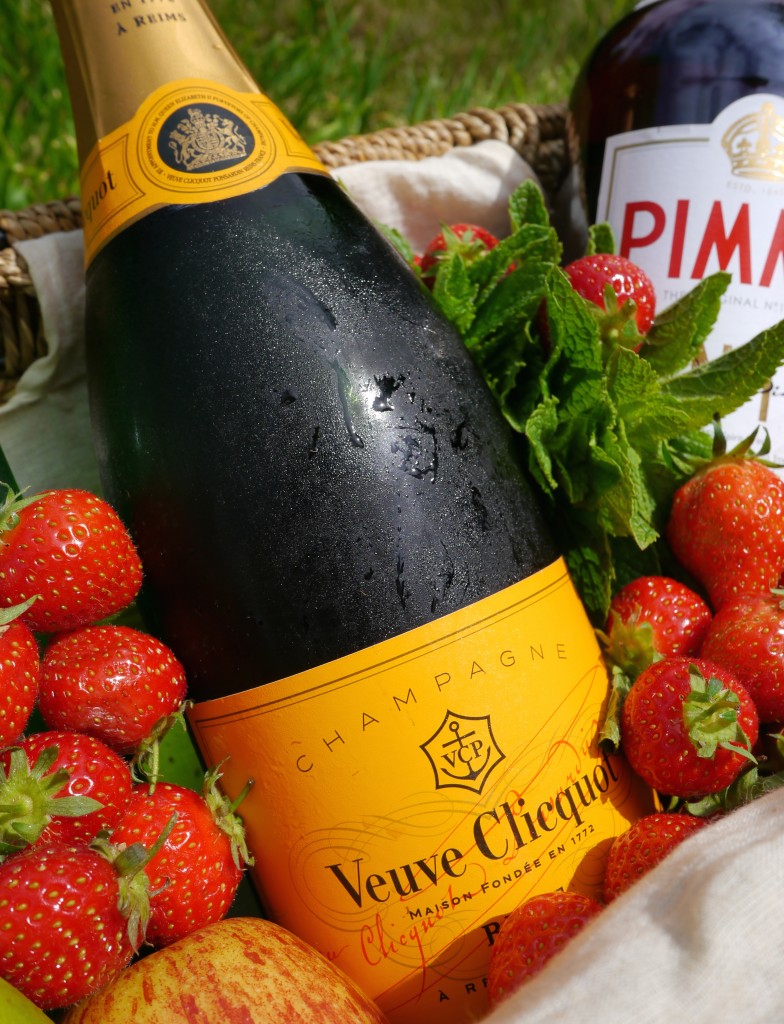
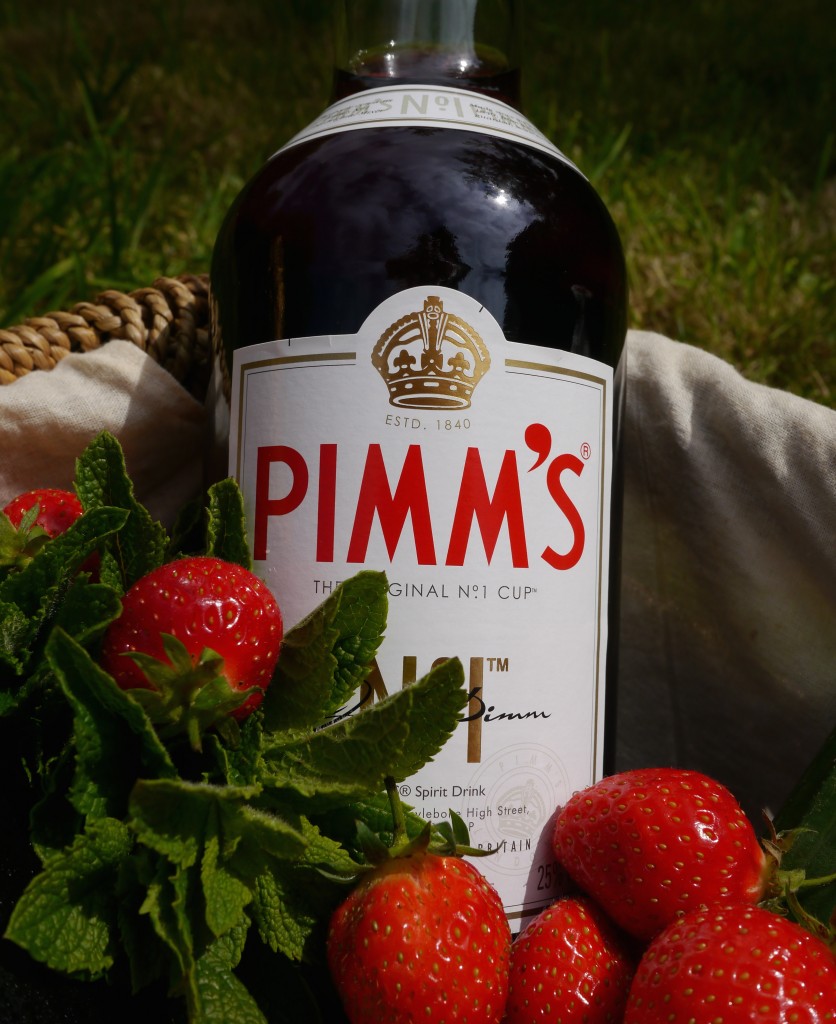
Pimms Royale with a Twist

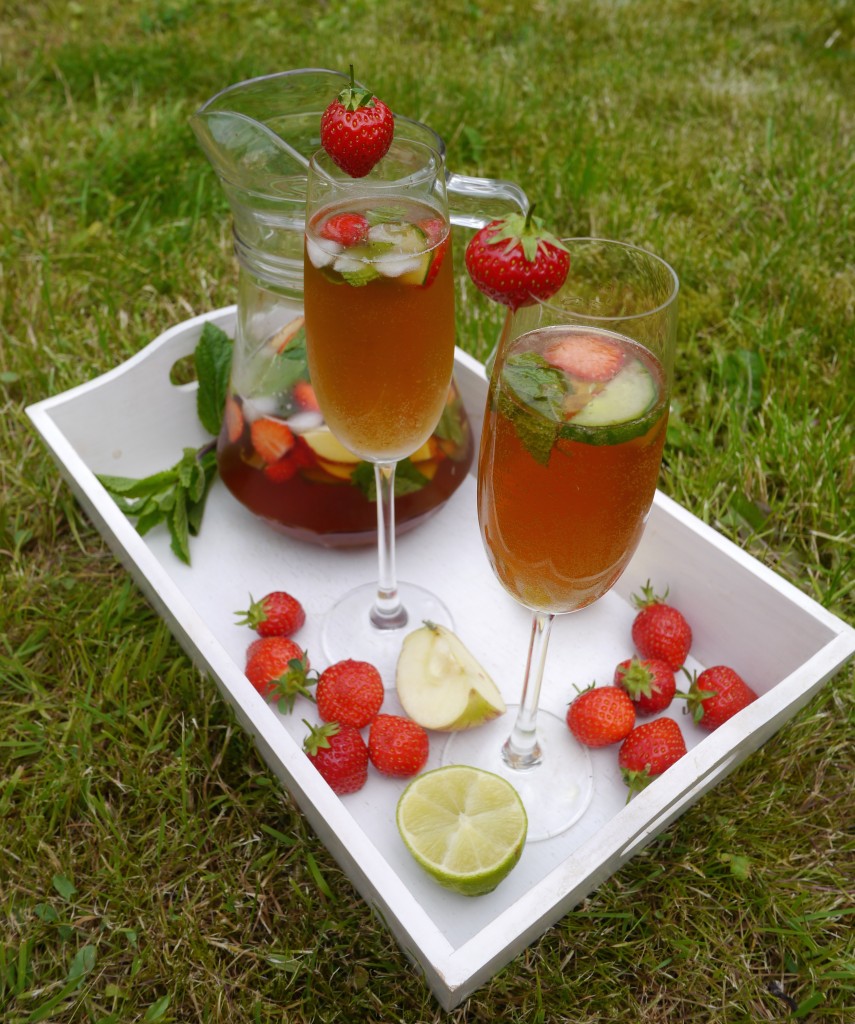
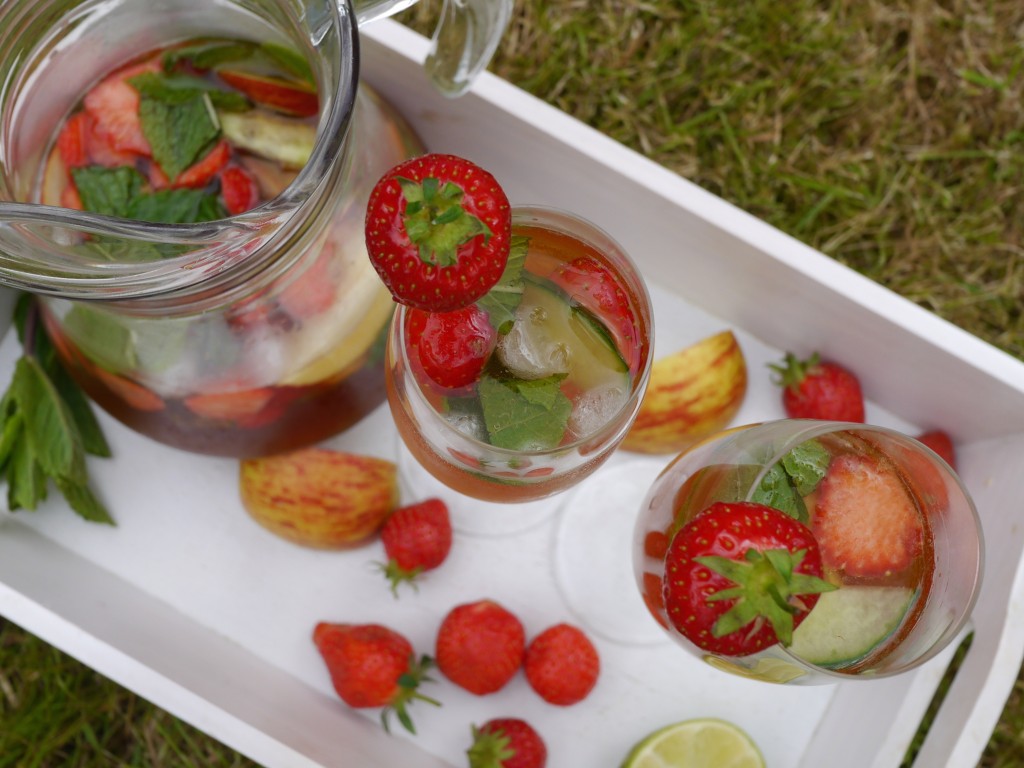
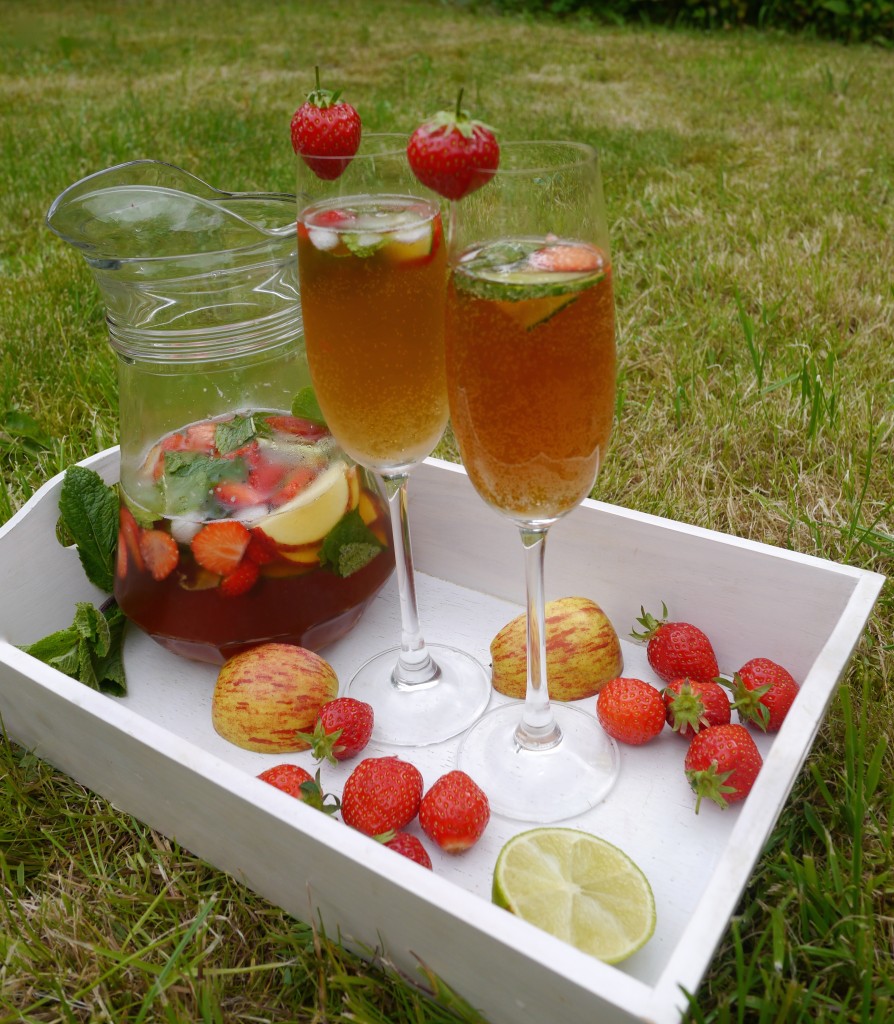
With the promise of a Wimbledon cocktail recipe the other day I have discovered the ultimate Pimms drink. We love good champagne and we love Pimms and the two together is called a Royale. Well now its been know for a while you can add elderflower cordial to Pimms….soooo we thought hell why don’t we just add the lot and see what we get! By now you must know we like to experiment and cocktails are the perfect way to have a dabble!

Pimms Royale with a Twist P1160307 P1160308You need the usual ingredients, tons of fruit and well just throw it all together, however you darn like!

Just add a good champagne instead of lemonade and a dash of cordial with tons of ice. P1160309 P1160316 P1160323Murphy and Ambers favourite treats are strawberries. Amber keeping her pretty eye on Mr Murphy, then having a cheeky sniff!P1160329 P1160332 P1160339They are potent and perfect for the last day of Wimbledon when we will be celebrating anther fine win we hope! Go and make a sneaky batch now and try it out, I won’t tell anyone! P1160342

For more fun recipie ideas check out our site www.slbstyle.com and drop me a happy tweet at @sarahbacchus and have the best tipsy weekend!!

Sensationail Home Kit Review

Hello everyone, its been ages since I last posted an article but I hope this one will keep the ladies happy! Ok so I never thought I’d see the day I rave about an at home gel nail kit. But that day has come and if you follow me on Instagram you would have seen me mention this a few times. This Sensationail kit is incredible on so many levels.

I was sent this kit to review and used the product over a few weeks. I have removed it and reapplied the system to really put it through its paces. If you haven’t come across my site before then welcome. I used to be a Celebrity nail artist and an Educator for some of the biggest professional nail brands in the world. I can honestly say that Sensationail is in fact….Sensational!!

I’m going to go out on a limb here and state that I think this kit is possibly better an any professional product I have ever used tested or worn myself. Now I know everything there is to know about gel polish, the way the chemicals react and how different products work together. I also put my nail enhancements through utter hell. I can, as I know someone that will fix them in a blink of an eye if they chip, drop off or lift and that’s me.

Most professional gel applications become a little spongy, soft and lift after about a week on my nails. Not sensationail it’s incredible. I got 2 full weeks out of the first application. Only taking them off to redo as the regrowth was looking a little unsightly. I removed them and reapplied them with ease and I can report that this brand is seriously rocking my world.

You won’t need to worry about applying extra layers as it’s so strong it’s just perfect. It has the best combination of strength and possibly the biggest factor that makes nail enhancements perfect and that’s it’s also flexible. So it will bend a little like real nails should. Too brittle and they can crack. This leads to lifting and all sorts of problems. Not with Sensationail you don’t! Not to mention the shine of the topcoat. It holds as good as new for all 14 days. No scratches, no dulling and certainly the shiniest of top coats I have ever come across. With the added bonus of being a 2 in 1 product. A combined base and top coat. Amazing don’t you think!Sensationail Home Kit Review

Sensationail Home Kit Review Tips

  • When lightly buffing the surface shine make sure you don’t damage the nails natural thickness, as over buffing will thin your nails drastically.
  • Cleanse with the product supplied. Don’t use nail polish remover as this is a solvent and could possibly cause lifting.
  • Don’t touch any of the nails after cleaning as this will transfer natural oils from your fingertips and will result in the product not settling properly.
  • When applying the primer only add it to 4 nails (leave the thumbs to last) Its a sticky product and fluff will drive you mad!
  • When applying the base coat to the 4 natural nails make sure not to touch the skin (this will lead to lifting) By laving a tiny margin around the sides and bottom it will increase the length of time that the product will stay looking perfect.
  • If you get any product on the surrounding skin just remove it with the orange wood stick provided in the Sensationail kit.
  • Do not wipe off the shiny, tacky residue from any of the layers as this is a very important part. *Sticky sticks to sticky or a rough surface. If you remember this you wont ever go wrong. If you remove it by mistake its OK but you will find the product might not adhere to the next layer. So all you ned to do is lightly buff the surface and recleanse.
  • Swirl the lid and brush in clockwise, or an anti clockwise motion around the neck of the bottle (whatever one feels easiest) as you take the applicator out. This will prevent dripping of the product and only the amount you need will be on the brush.
  • Next professional tip is to apply the polish as thin as you can. I found this product self levels and it’s amazing even if you are a little heavy on application. But its a good habit to get into as you could get a few more applications out of one bottle.
  • This is possibly the best tip I am going to give you now….Start to apply the polish in the middle of the nail. The push the brush towards your Proximal nail fold (cuticle) “I am going to drop in a diagram at the bottom and an explanation all about the cuticle at the end of this article. Make sure you read it as it will be very beneficial for you” As you push the brush back it will do all the work for you and you will see the polish edges are as neat as a pro! Try it a few times and let the product just glide on. *You are in no rush as it wont set until you are happy and place it into the lamp.
  • Top tip….Don’t leave any products near a lamp that it on. The bright blue light will most certainly cure whats in the bottles or the brush you leave on your desk!!!! Be warned!
  • Take your time when you first do a set. read the Sensationail instructions, my cuticle advice and the professional routine bellow before you start and Practice makes perfect!
  • Once you have mastered a few tips all you have to remember is that the Base & Topcoat take 30 seconds to cure and the polish takes 1 minute. Simple as that. If you need 3 coats, then apply 3.
  • If you have exceptionally weak nails I suggest a double layer of base and a double layer of topcoat cured for 30 seconds at each application.
  • When you are finished cleanse, wash hands and Oil those stunning nails twice a day with almond oil. There you have it some professional advice.Sensationail Home Kit Review

Sensational has all the right ingredients to create perfect nails at home time and time again. I can’t fault this in any way. Well if I was really going to be picky I’d say that with some of the colours it shrinks back just a little with the first coat of polish….But on applying the second you would have forgiven it in a heartbeat. The coverage is unsurpassed.

Professionals would normally do 3 thin coats, very thin ones when applying any products for a client as they can ripple and not cure right the way through. This leads to lifting and unhappy customers. Now this is where I feel this products comes into it’s own. The ease of application is tremendous, it’s near on impossible to get it wrong. The applicator brush of the combined base and topcoat is brill and the colours glide on almost seamlessly.

I give this a huge 10/10. For anyone that wouldn’t set foot in a salon this is perfect and for those of you needing to save a few pennies this will blow you away. Excuse the pun…This is Hands down the best gel manicure kit I have used in years.

Below is a professional explanation about the real Cuticle and manicures.The True Cuticle

To explain what the true cuticle is… in fact it covers the entire nail bed. Yes thats right girls. The cuticle is basically the residue from the proximal nail fold when the nails are growing. Its there to keep infection out. And should NEVER BE CUT, EVER. As the nail plate grows it just travels with it. It can be carefully cleaned away by yourself but you just need a little know how…So I have done a little routine for you to help you apply Sensationail like a professional.

1. Grab a towel and some kitchen paper and place it on a table with a good light above the area. Preferably set up during the day. Sundays are best! Set aside about 1 1/2 hours to do a great job.
2. Gather all you need and plug in the lamp and arrange your desk with everything you need.
3. To remove the true cuticle gently glide the Sensationail remover tool (this is perfect) up and down the ENTIRE nail bed very gently. You can do this on dry nails with the remover and you will see lots of dry powdery debris coming off. Don’t over work it just do tiny moments with a little pressure and you will be amazed at what comes off!
5. Wash those hands and nails, getting rid of the excess debris. Then dry them off with a clean piece of kitchen roll.
6. Using a gentle file, shape nails. Lightly zig zag the file on the ends. This will add a little bit of key so the base coat will be able to nestle into the ends and seal them.
7. Arrange the lamp, bottles and products so they are easily accessed and loosen the lids a little.
8. Grab a cleanser pad provided in the kit and cleanse (not too much as this will saturate the nail and will lead to lifting!) one drop will do all 4 nails. Really cleanse those nails and scrub away at them so they are nice and clean. Try not to get any fluff left behind.
9. Look at the nails and see if you have any fluff or dust. Do not touch the nail plate if you have. Try to remove it by reusing the pad.
10. Apply a very small amount of base coat to 4 nails (do the thumbs last). Remember to add some around the free edge (tip of the nail). Keep it simple and try not to touch the skin. Keeping it just on the nail bed.
11. Place in lamp for 30 seconds.
12. Apply the colour thinly around the free edge. Then over the nail. Gel polish is amazing as it won’t set until it gets near the lamp! If you find its shrinking back a little just flash cure each nail for 5-10 seconds then move on to the next. This normally happens with darker colours and reds. Word of warning….don’t place any gels near the lamp as they will set, as I have mentioned before. Its always good to remind you!
13. Pop your beautifully and carefully painted nails into the lamp for 1 minute.
14. Apply a second coat to just the nail bed, paying attention to making sure it’s as neat as possible.
15. Pop in the lamp for 1 minute.
16. If you need a 3rd coat go ahead and do another.
17. Place in lamp for 1 minute. If you have applied this thickly you will feel it get a little warm. This is very normal it’s just the molecules connecting and being activated to link together until it sets. It sets so fast it’s a little friction and nothing to worry about.
18. Apply a thin coat of top coat and make sure you run a little along the tip to seal the edges. Then place your hand in the lamp for one last 30 second session!
19. Now do this to all 4 fingers on the other hand, followed by the thumbs. All done! I do hope this has helped you along with my professional gel nails tips.

It all sounds like there are loads of stages but trust me once you have done it a couple of times this will save you so much money and you will be able to have stunning nails all year round that look like a professional job.

*Please remember if you are thinking of doing other peoples nails you need proper training a licence/insurance and tell the council you are running a salon, either from home or mobile. It’s not worth running the risk of getting in trouble.

The key to anything is learning to do things properly and this article is intended for the use of Sensationail home gel nail kits.

For more beauty, fashion or styling advice just Tweet me @sarahbacchus and check out my site SLBstyle.com

For any photography and Personal Styling bookings please email me at sarah@slbstyle.com 

Nipa Thai London

Nipa Thai is one of the hidden gems of London.  A fairly small and intimate setting with exceptional staff and decor.

Nipa (meaning pretty lady) is quite frankly amazing and has won the prestigious Thai Select award from the Thai Government for the highest standards of quality and fine food. There are only 14 other award holders in the whole of the UK, the equivalent of a Michelin star!

Once you have entered the hotel take the stairs up to the stunning terrace and enter the restaurant. We where lucky enough to visit when all the decorations where up and looking festive and pretty.

You will be welcomed with open arms when entering the restaurant by the most delightful and beautifully dressed staff.

Nipa Thai

Nipa Thai-24 Nipa Thai-23The gorgeous menu will have you salivating and excited right from the start. We promise you wont be disappointed with any dish.

Once we had sat down the staff suggested some great wine to accompany our meal. We where treated to Vegetarian pad thai. Steamed sea bass with chilli and garlic sauce. Sweet and sour chicken along with sticky rice and a bowl of delicate jasmine infused plain rice. Nipa Thai-13 Nipa Thai-11 Nipa Thai-10 Nipa Thai-9 Nipa Thai-8 Nipa Thai-7

The intimate ambiance of the entire restaurant will leave you feeling relaxed and totally satisfied. Further more the staff have to be the best in London. The food was mind blowing and we have been totally spoilt now due to the delicate and incredible flavours and textures of the sumptuous sea bass. The best we have ever had and we love our fish.

Nipa Thai-6

The pad thai was perfect and complimented both dishes so well. Crisp and delicate at the same time.

We then moved on to pudding….now this has to be said by the time we had eaten so much wonderful food I really didn’t think it would be possible to top the meal…Well I was wrong.

A hot clean towel to freshen up in between service.

Then feast your eyes on these babies below. Deep fried ice cream and a selection of tropical hand carved fruits. The highlight of the evening. Such talent in the cooking and presentation will have you gushing about this place for weeks once you have eaten here.

Nipa Thai-14 Nipa Thai-15 Nipa Thai-16 Nipa Thai-17 Nipa Thai-18 Nipa Thai-19 Nipa Thai-20 Nipa Thai-21 Nipa Thai-22

We leave you with this image and its safe to say it was the BOMB!!!

We give Nipa Thai 10/10. Make sure you plan a visit to this wonderful hidden oasis of flavours very soon.

Nipa Thai Restaurant Lancaster Terrace London W2 2TY T: 020 7551 6039 nipa@lancasterlondon.com

Opening hours: Mon-Sun: 5.00pm – 10.30pm.


Royal China Baker Street London

Royal China is known for its Dim Sum. Tantalising handmade parcels of tasty delights. Royal China’s Dim Sum is prepared on a daily basis by a team of dedicated Dim Sum chefs using only best ingredients. Created with utter love and devotion, each chef is trained to the highest standard and this really shows when the food arrives at the table.

We recently enjoyed the most incredible meal at Royal China along Baker street. The menu is so beautifully presented and its really easy to pick all the dishes you want. Myself and Lottie went along one mid week lunchtime thinking it would be a little quieter…NO! This place gets packed. We headed in and where given an impressive menu with lavish offerings.

Royal China -1 Royal China -2 Royal China -3 Royal China -4

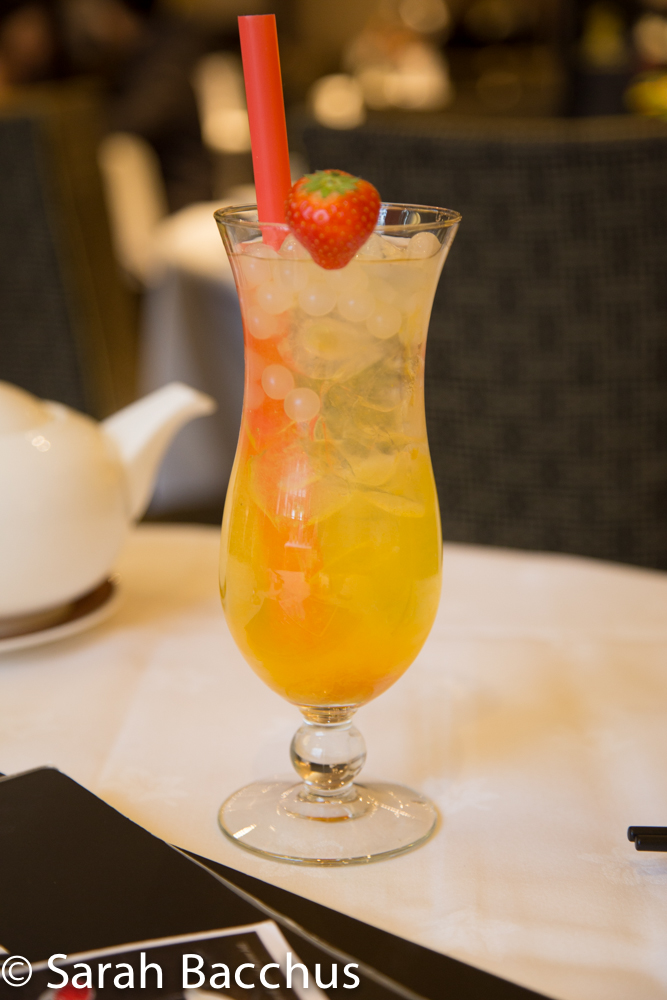
We sipped bubble virgin cocktails. Totally mind blowing with Little beads of juice bobbing around ready to be sucked up the oversized straws. Totally delightful and incredibly moorish. Strawberry, lychee and Passion fruit are the options and we just had to try every one! I couldn’t possibly tell you what one was the best as they where all delicious. Then it was time to choose from the tremendous well laid out menu…

Royal China -5 Royal China -6 Royal China -7 Royal China -8 Royal China -9 Royal China -10 Royal China -11 Royal China -12

We drank jasmine tea as we assessed the stunning menu and our surroundings.

Royal China -14 Royal China -16

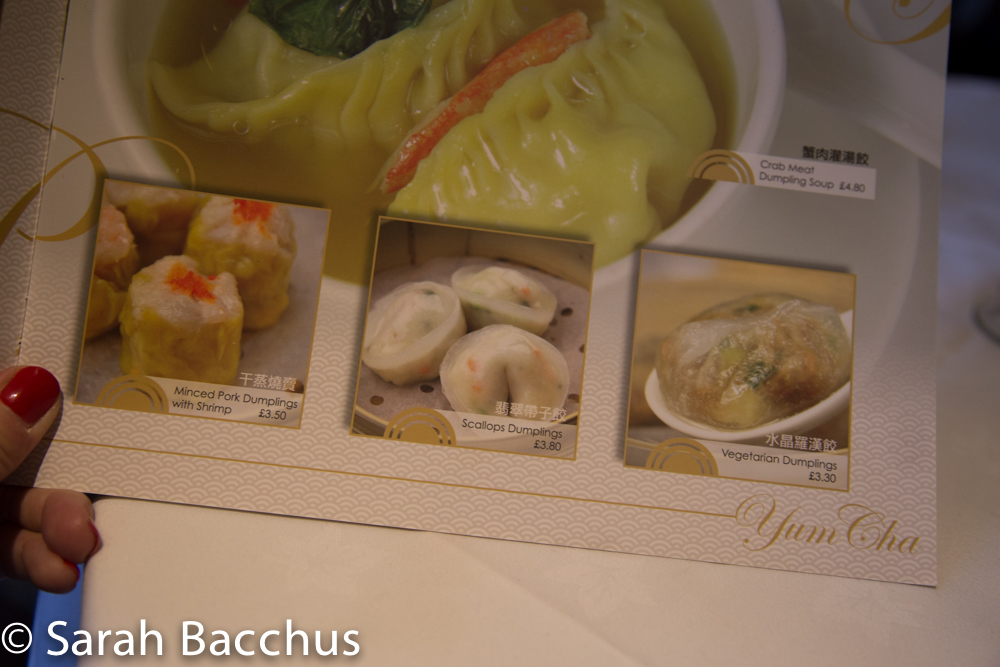
Finally we decided what we wanted off the eye catching menu. Once we ordered it came to the table in record time. With our eyes all lit up we set about digging in to this amazing array of dishes.

Royal China -17 Royal China -18 Royal China -19

 Feeling like Royalty we ate dumplings with various vegetarian and fish fillings. The Scallops where totally delicious and tender. The sesame spring rolls melted in the mouth and our mains of prawn wonton noodle soup and mushroom fried noodles had us reminiscing all afternoon. Every bite was delightful.

The presentation, flavours and attentive staff make this place stand out a mile. Whats more all this gorgeous food was so reasonable.

We highly advise a visit very soon. You will need to make reservations if you don’t want to be disappointed. Make sure you go hungry as you will want to try as many dishes as possible.

Royal China -20 Royal China -21 Royal China -22 Royal China -23 Royal China -24 Royal China -25

The portion sizes are exceptional and you won’t leave feeling disappointed we promise you!

Royal China -26 Royal China -27 Royal China -28

See if you can manage to try all the bubble cocktails too. We will defiantly be back for more of those very soon thats for sure. Just don’t try to fit all the beads in your mouth at once like Lottie! They where just too good not to finish off!

You can find their Flagship restaurant Royal China along 23-25 Baker Street London.

The Miss Polly Rae Show

The stunning Burlesque star Miss Polly Rae dazzles, sparkles and lights up the Soho Burlesque Club. She intimately invites you into her very own little Boudoir for a highly entertaining laugh out loud saucy evening filled with tantalising and funny performances.

This truly brilliant cabaret act had us in stitches from the very start. We give you Miss Polly Rae the only way we know best…..Pictures.

Its too good to spoil telling you too much about what happens. Just be safe in the knowledge you will leave with a big grin on your face, a belly that hurts from laughing so much and be in awe at the beautiful dancers. Provocative, yes…But done in such a truly stylish way it will impress you beyond belief.

Miss Polly Rae Miss Polly Rae  low res-3 Miss Polly Rae  low res-4 Miss Polly Rae  low res-5 Miss Polly Rae  low res-6 Miss Polly Rae  low res-7 Miss Polly Rae  low res-8 Miss Polly Rae  low res-9 Miss Polly Rae  low res-10

The sensational act is supported by Kitty Bang Bang, Betsy Rose, Reuben Kaye and the very agile acrobat from the Boom bang circus. Miss Polly Rae  low res-11 Miss Polly Rae  low res-12 Miss Polly Rae  low res-13 Miss Polly Rae  low res-14 Miss Polly Rae  low res-15 Miss Polly Rae  low res-16 Miss Polly Rae  low res-17 Miss Polly Rae  low res-18 Miss Polly Rae  low res-19 Miss Polly Rae  low res-20 Miss Polly Rae  low res-21 Miss Polly Rae  low res-22 Miss Polly Rae  low res-23

The show is held every week at 8pm for those of you that don’t want to see too much flesh! Then again at 11pm for the little more risqué version. Tickets from are from £15. Burlesque star Miss Polly Rae delights the Matcham Room Theatre every week with the amazing team of entertainers and we totally loved every drop of this cabaret. Book your tickets here.

week with  Miss Polly Rae  low res-24 Miss Polly Rae  low res-25 Miss Polly Rae  low res-26 Miss Polly Rae  low res-27 Miss Polly Rae  low res-28 Miss Polly Rae  low res-29 Miss Polly Rae  low res-30 Miss Polly Rae  low res-31 Miss Polly Rae  low res-32 Miss Polly Rae  low res-33

We where totally mesmerised and we are totally coming back to see the Boon bang circus very soon and you just might get to see that in pictures too!

Check out their website for show times and other amazing evenings to be had at the Hippodrome Casino London.

Music Cube at Westfield

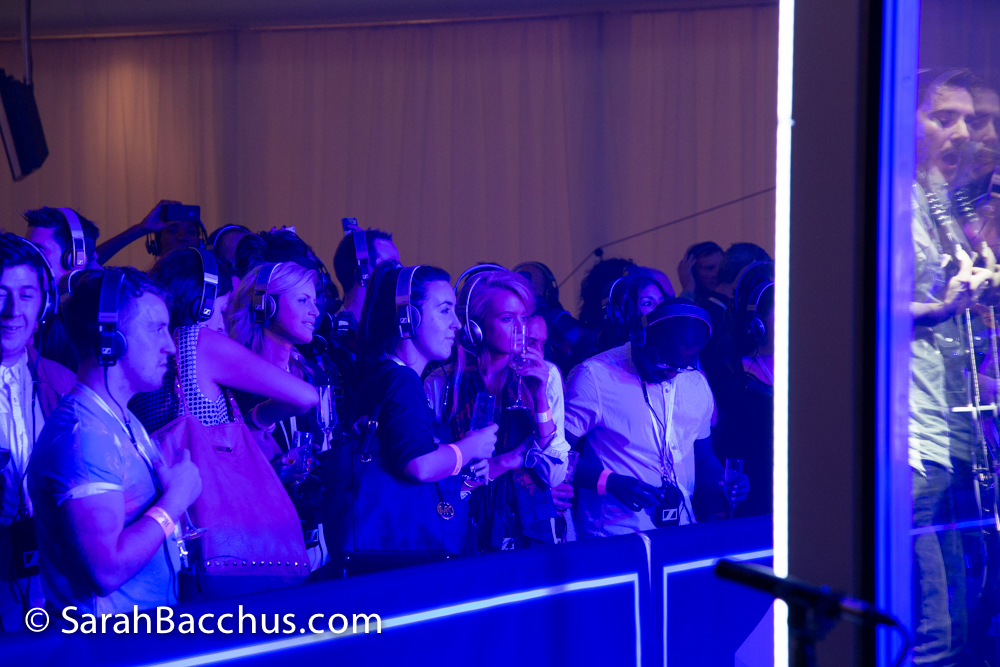
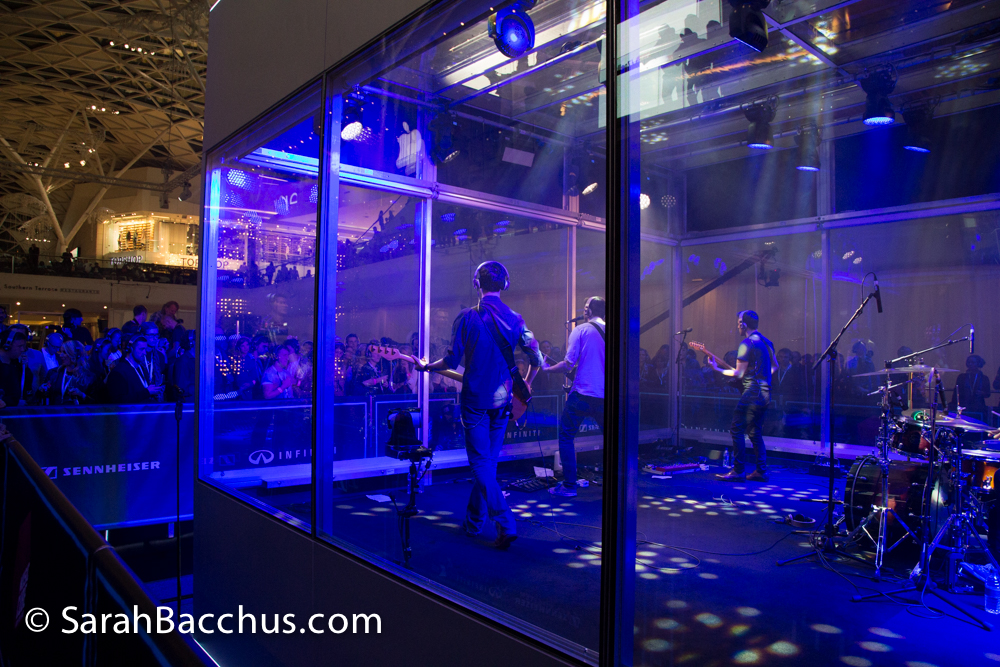
Music Cube at Westfield was an amazing event and is set to change the way we all experience live music. Bands and music artists performing live in a clear soundproof glass cube with LED lights, sub woofers built into the flooring so you not only can see, hear but feel the performance. Listening to this via state of the art Sennheiser headphones! Now we where invited and you can experience this thought the medium I know best!….Pictures!

Music Cube

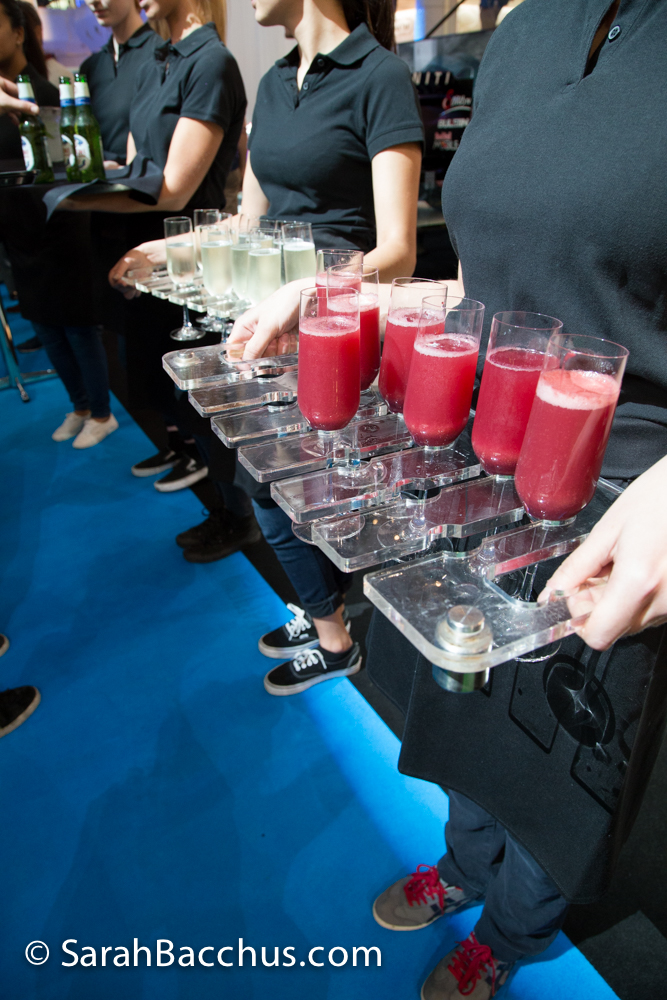
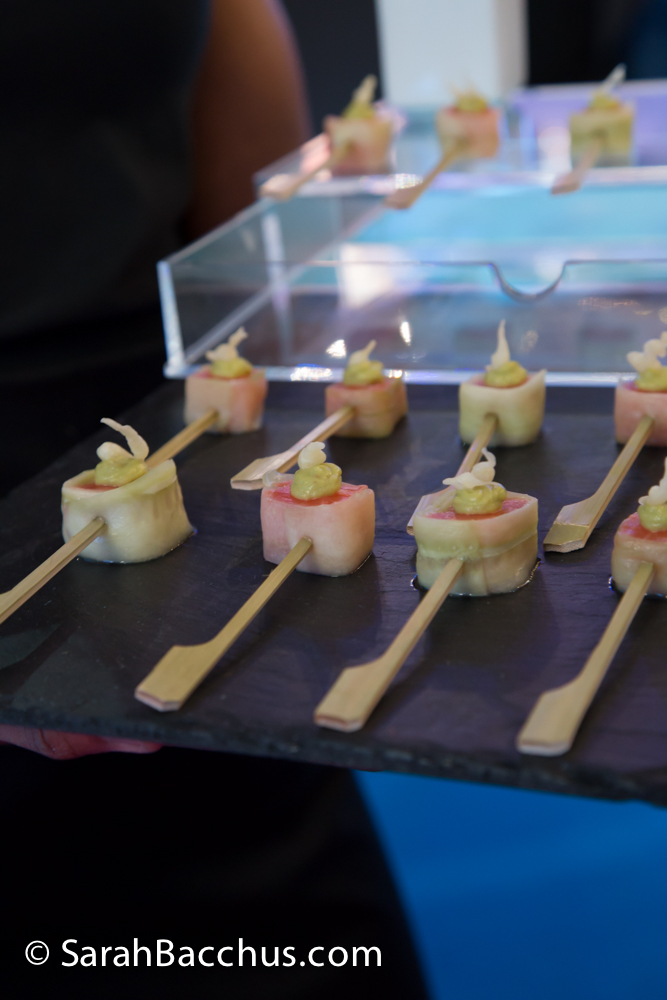
We drank cocktails and Champagne and ate delightful canapés

Music Cube  (2 of 49) Music Cube  (3 of 49) Music Cube  (6 of 49)

Kiss FMs DJ Melvyn Francis was there creating a fantastic atmosphere.

Music Cube  (7 of 49) Music Cube  (8 of 49) Music Cube  (10 of 49) Music Cube  (11 of 49)

The most incredible band called Canvas Wall supported Professor Green. They are simply brilliant and we loved their set. We are hopping to cover more from them soon. So keep your eyes on my articles and pictures.

Music Cube  (12 of 49) Music Cube  (13 of 49) Music Cube  (15 of 49) Music Cube  (19 of 49) Music Cube  (21 of 49)

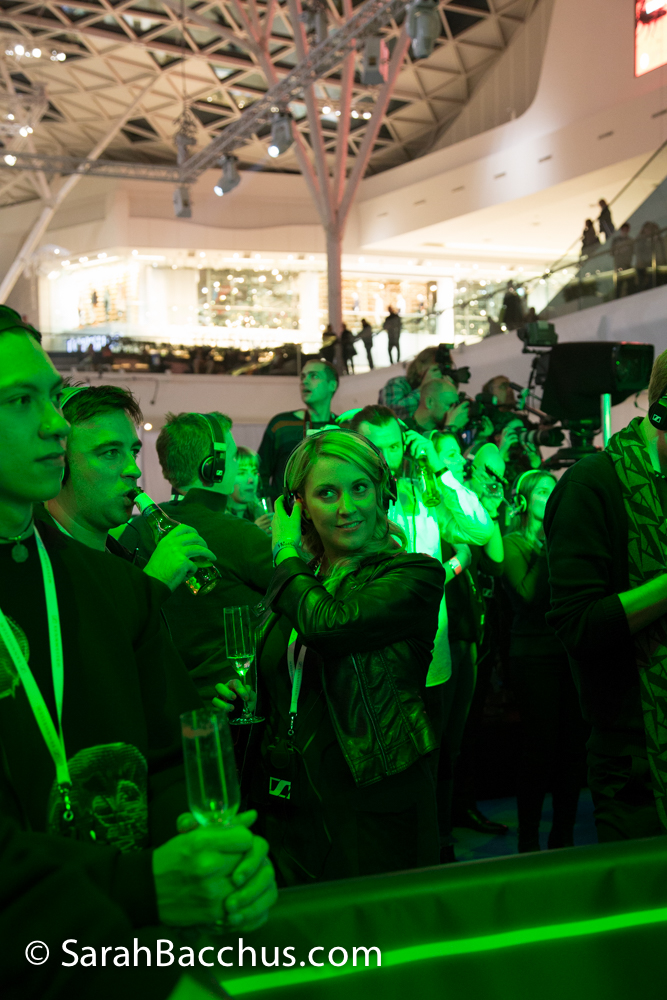
Then it was time for Processor Green to take to the stage and the entire place silently erupted. The oddest part of the evening was as soon as you took off the headphones it felt like an ordinary shopping centre. People gassed down on all these loonies dancing about with not a single note to be heard! Utterly brilliant and we loved every minute!!!


 Music Cube  (37 of 49) Music Cube  (38 of 49) Music Cube  (39 of 49) Music Cube  (40 of 49)  Music Cube  (44 of 49)

Green rocked and performed not only the 2 scheduled songs he was meant to perform but 5 tracks live in cube. He loved it that much!

  Now you guys can experience this for yourself Westfield Stratford City from 31 October until 2 November. Head over to the website to see the lineup.

Styling Tips

I’m constantly telling my clients what to wear, how to style thing up. How to create loads of amazing outfits, but what I rarely say is what not to wear. So here goes…this is my list of 10 things to avoid.

Those of you that love any of these items I do not mean to harm your confidence and just so you know none of the following examples of clothing where harmed in any way while writing this and getting it out of my system. For one factor…I don’t own any of them as the images have been borrowed via *Google!!

1. The dreaded scrunchie and yes I know I should like Carrie in that episode of Sex and The City with Burger her writer lover how quite frankly irritated me from the start. Scrunchies should be burnt. Simple as that..you don’t look good in them even if your in the bath.


2. Crocs, those things are the least sexy, unflattering item of footwear to ever be created. They hold no style and not a ounce of street credibility. Large, flappy and down right nasty. You could get me on the Birkenstock’s but I wouldn’t want to offend many of you fellow fashion bloggers that have fallen into this bewildering trap!! The only crocs you should own are stunning ones!! Not necessarily these below but you get my drift!


3. Quilted coats, you know the ones that look like you have just wrapped yourself in a black seamed doublet duvet. Who needs to add about 6 inches to their frame and most are made from the most horrendous unbreathable fabric. I rest my case…


4. Any form of skirt, or shorts that end at the thickest part of the thigh or calf. You will add 2 or 3 stones in weight to yourself without even trying. Always have the hem sitting at the slimmest part. Just where the legs look slimmer as this will create the illusion of a set of Bambi pins to kill for. Here is a great look to show off slim calfs and this will hide bulky legs if worn with darker tights and boots.


5. Cheep bags of any description that are threadbare. Or that the stitching looks unfinished, tatty or wonky. Hunt for one off good quality leather bags in thrift stores and charity shops. It’s amazing what you can find.


6. White bras. They are the work of the devil. They look nasty after one wash, dreadful under white clothing as they can be seen. Bras should be hand washed at all times to keep them strong and in perfect shape. Nude is a more appealing colour and will sit very nicely under your crisp white shirt to blouse.


7. Legins as trousers…I’m not raging about this one too long. If you can’t see why this is wrong then you need to book my styling services more than you think!


8. Matching your bag with your shoes, it’s so circa 1980s it’s just not cool, try and clash with the other accessories and try different things. You will look way more effortlessly put together and it will spice up even a very simple jeans and T-shirt number.


9. Never go out with dark smoky eyes and deep red lips. It’s too much and my rule of thumb is dark eyes, nude lips. Red or deep lips, simple eyes, say just a black flick and no eyeshadow.


top

10. Finally the last and most important rule. Don’t get too tied up in size and label snobbery. Try different brands and visit shops you are unfamiliar with. A multitude of amazing finds are just hangers away. Rummage through all size tops. The larger more slouchy ones are sometimes so much more sexy as they drop off the shoulder. Play with your style and have fun with it. Just remember fashion is only in the shops for a few weeks, it’s style that you want to create.

For more styling advice or to book styling session head over to the main SLB Style.com website where you can learn loads more styling tricks and tips

For Photographic work check out sarahbacchus.com

Follow me on Twitter here