To celebrate summer, Maggie Robb from Made by Maggie will be sharing some of her favourite seasonal makes. They’re simple enough for everyone to try and you’ll love the results. Visit her on Facebook MadebyMaggie07 for more making tips and lovely stuff.
This month – Up-cycle pretty fabric scraps into an eye-catching rosette brooch.
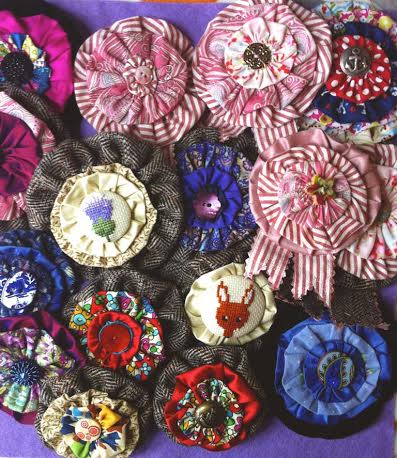
“I totally love making these brooches – they’re a great way to use up the scraps from my other projects and it’s very satisfying piecing the rosettes together and choosing their centres from my stash of vintage buttons. You can make the rosettes as big or as little as you like, and also use them to embellish t-shirts, bags, children’s clothes- your whole world!”
What you’ll need –
Scraps of Fabric in contrasting colours, patterns and textures.
Ribbons and buttons
Wool felt for the backing
Needle and thread
Scissors and Pinking sheers
Brooch clasp (can be found in craft shops like Hobbycraft)


First, cut out three different sized circles from your fabrics. I use cardboard templates with diameters of 16, 13 and 9 cm but you can also draw round anything handy you have at home – a cereal bowl makes a great large rosette and a mug or glass is good for a smaller size. The general rule is that your finished rosette will be approximately half the size of your ‘raw’ circle.
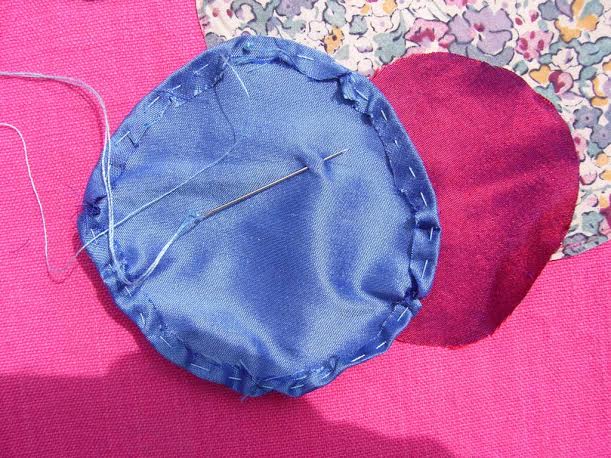
Next, fold over the edge of your first fabric circle and sew a narrow hem with a running stitch.
Gently pull your thread tight to gather up your rosette – smoothing the fabric with your fingers to create neat and even pleats. Thick fabrics like tweed or velvet work better with a larger circle but silks and Liberty Lawn and other thin fabrics can be smaller. Secure your rosette with a couple of stitches.
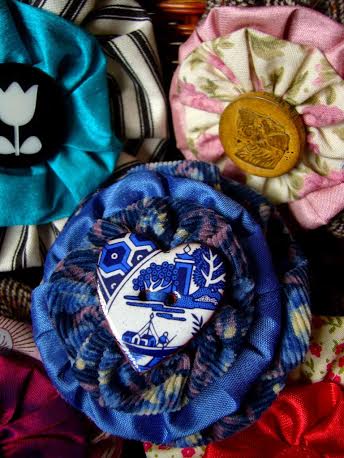
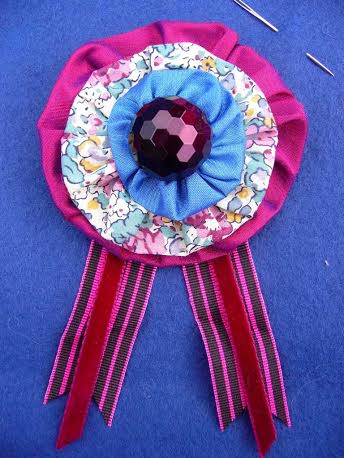
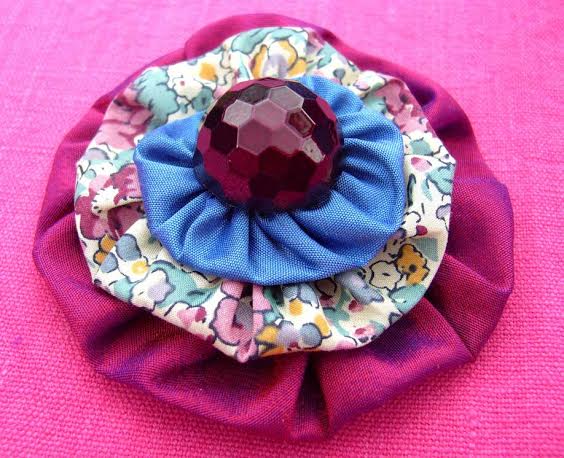
Now for the fun bit! Once you’ve got two or three different sized rosettes you can start assembling your brooch. Choose a centre piece for it from your stash of buttons or pop down to your local fabric or craft shop and choose something – buttons with ‘shank’ fastenings at the back rather than holes can be especially effective. You need to place your rosettes pleated side up to achieve the ruched rosette effect. Secure your layers and button in place with a couple of stitches.
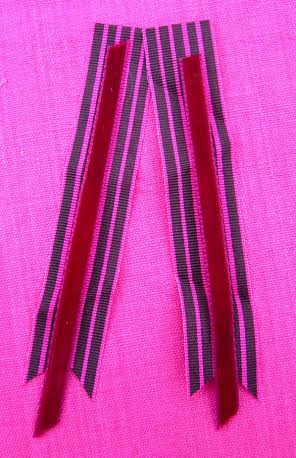
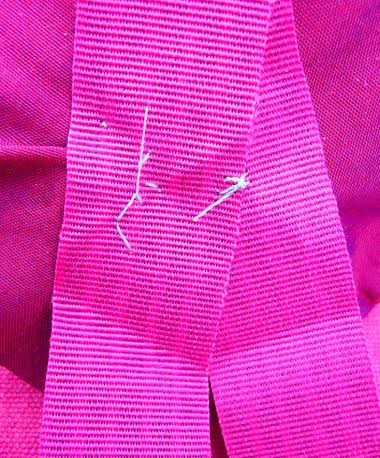
To sew a set of ‘tails’ onto the back of your rosette select a couple of lengths of matching ribbon of different widths. Cut them to the desire length and trim the ends to an arrow to avoid fraying. Attach to the back of your base rosette so that they cross over with a few stiches.
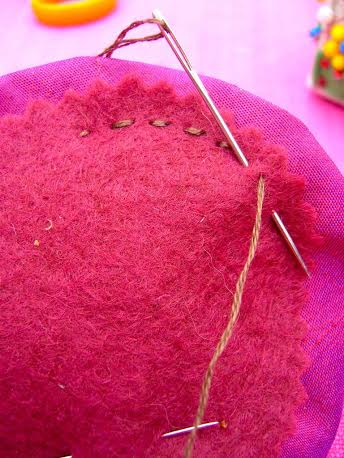
To give your brooch a professional finish cut a circle of felt in a matching shade using pinking shears (zig zag scissors!) to achieve an attractive and non-fraying edge, and sew in place on the back of your brooch using a simple running or back stitch. It’s a good idea to pin your felt circle in place before you start to sew.
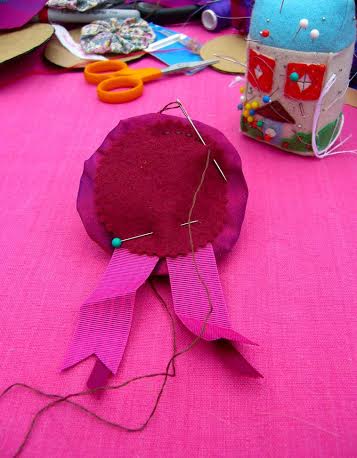
Then attach your pin fastener two thirds up and in the middle of your felt circle. And you’re done!
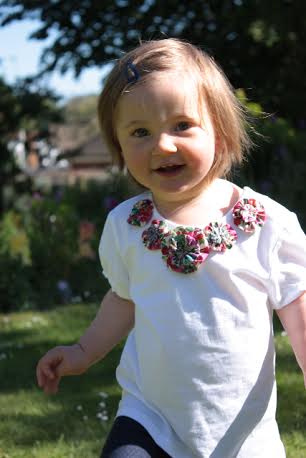
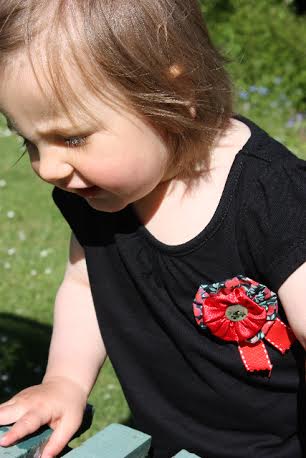
You can experiment using stripy fabrics, porcelain buttons or even cover your own with fabric or snippets of embroidery using self-covering buttons (try any haberdashers or craft store or online) for a really personalized effect. The brooches look great on coats, dresses or even pinned to canvas bags. Or sew a selection onto a t-shirt for you or a little friend! When making rosettes for young children to wear, leave out buttons as these could be a choking hazard.
Next month…… Join Maggie as she shows you how to make a cute little tape-measure holder out of scraps of felt.