Crafting is a wonderful way for families to spend quality time together. Not only is it fun and creative, but it helps build bonds, teaches new skills, and creates lasting memories. This article will explore several crafts that parents, children, and teens can all take part in together. With a little planning and preparation, you can find activities that suit everyone’s interests and abilities.
Simple Sewing and Embroidery
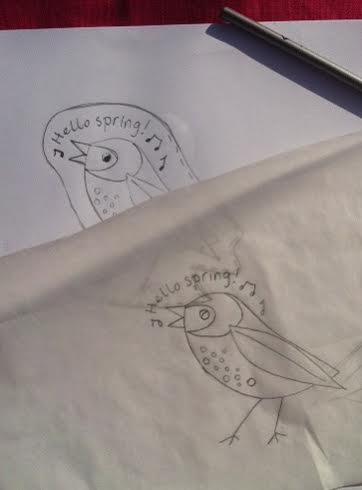
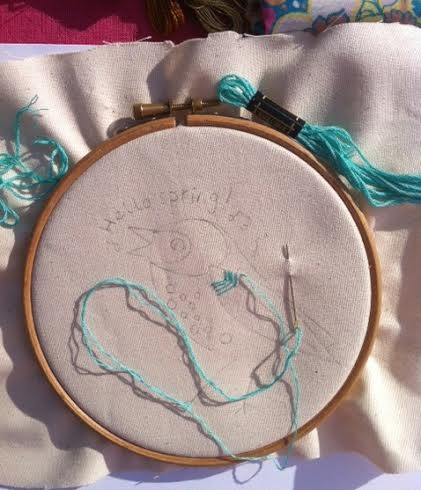
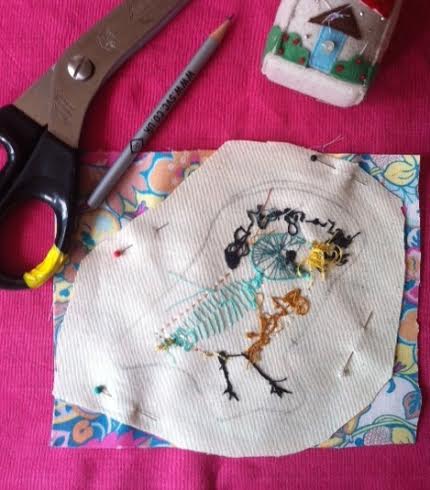
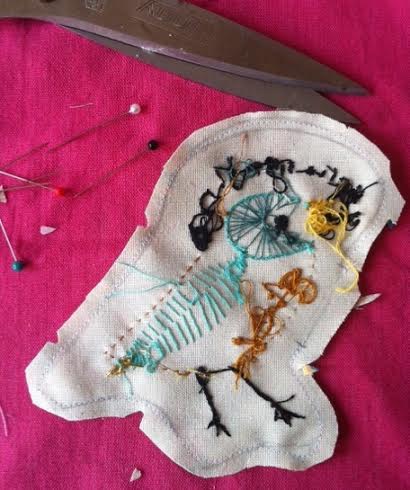
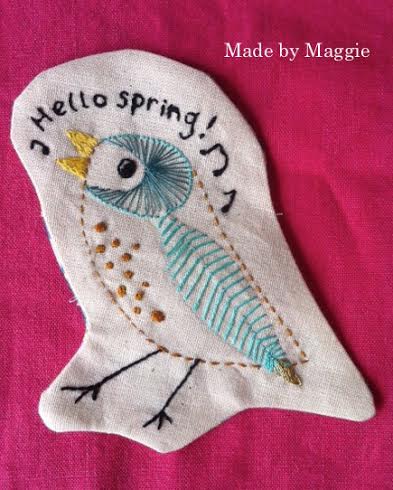
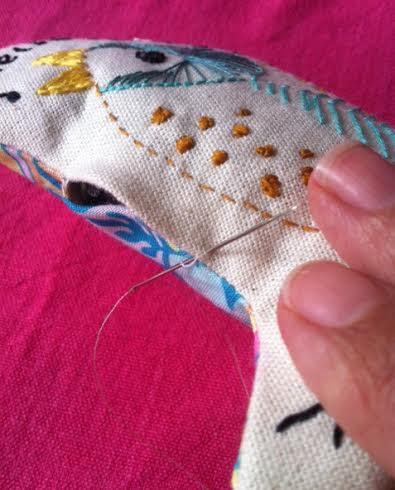
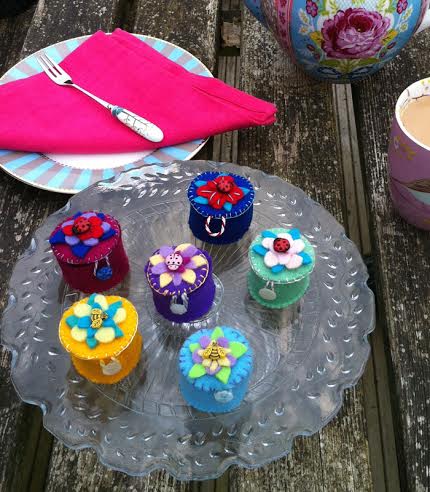
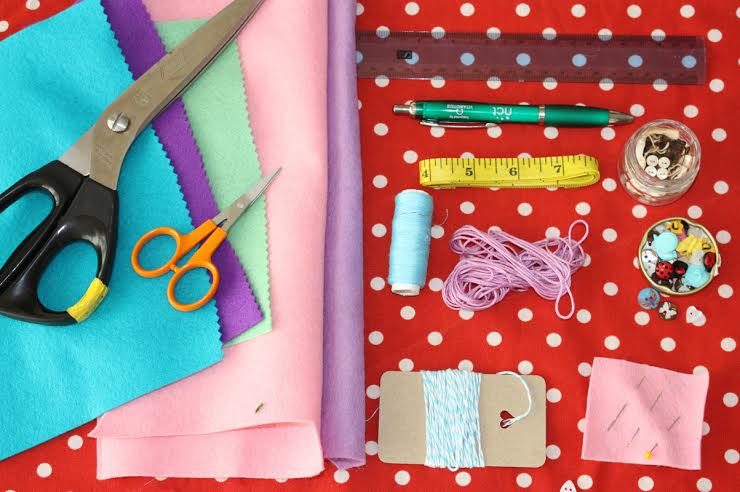
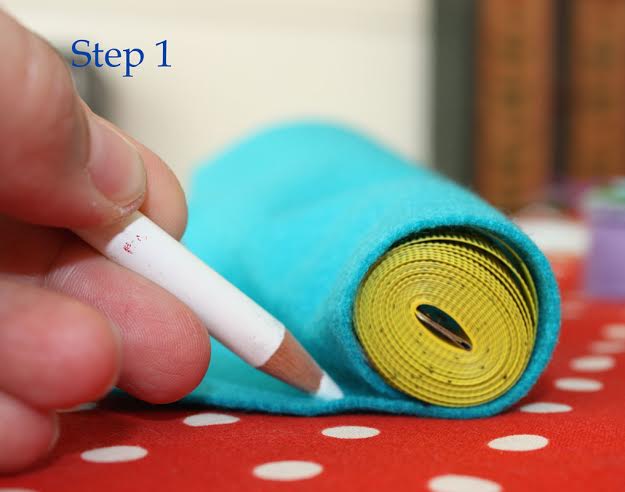
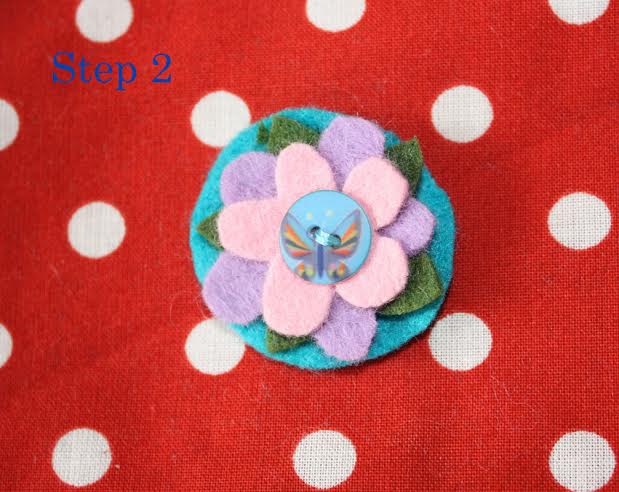
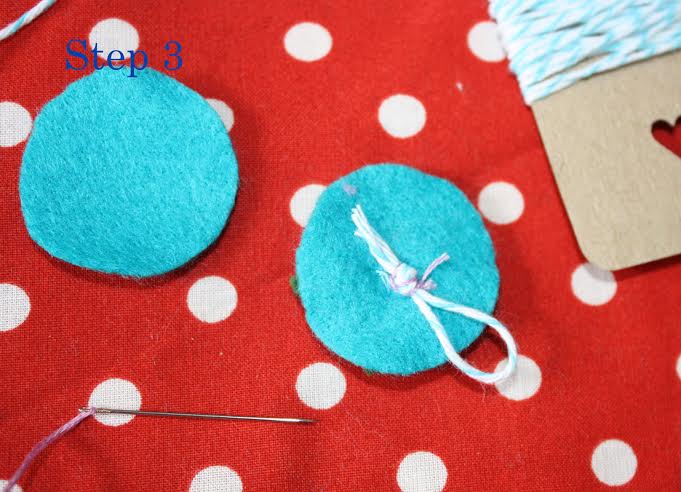
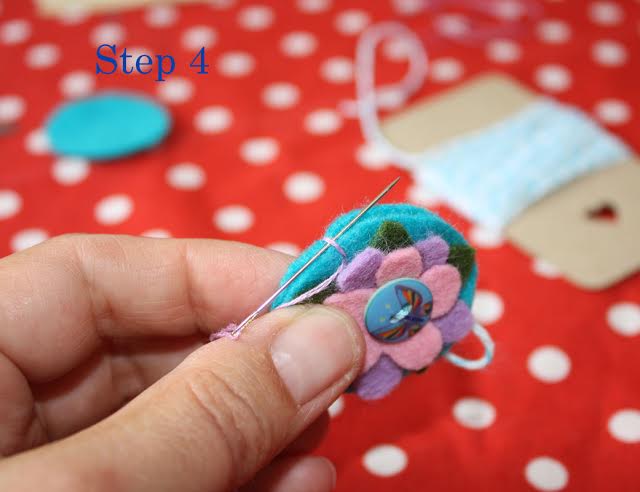
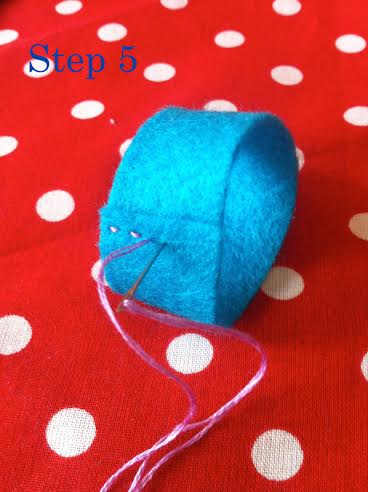
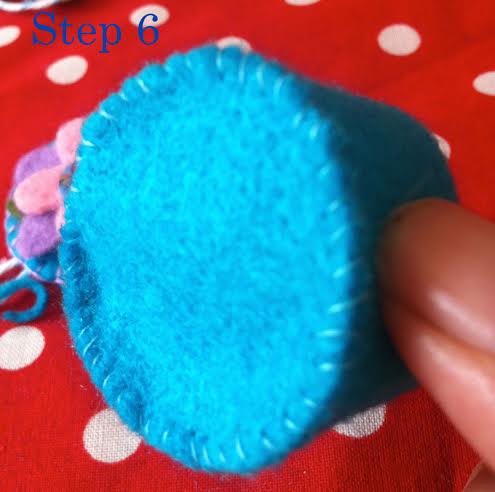
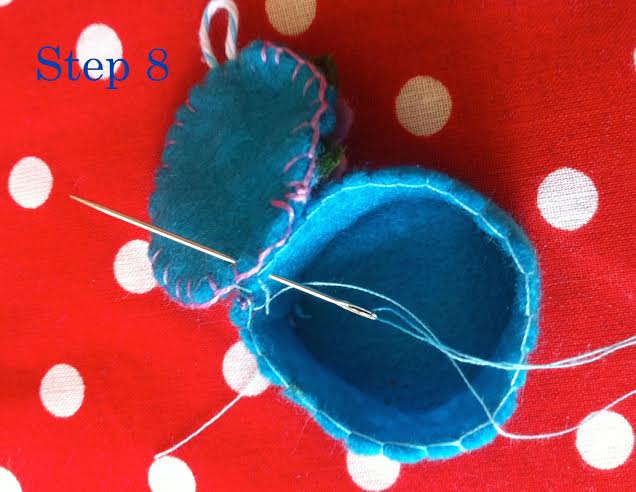
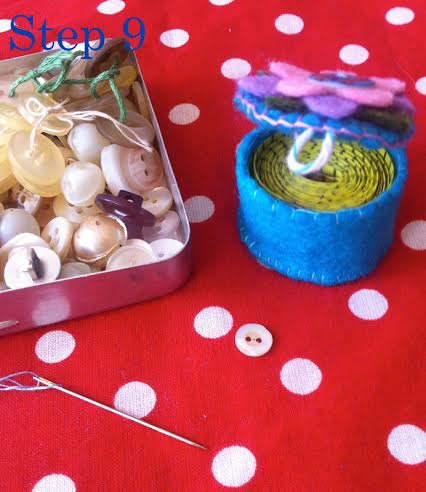
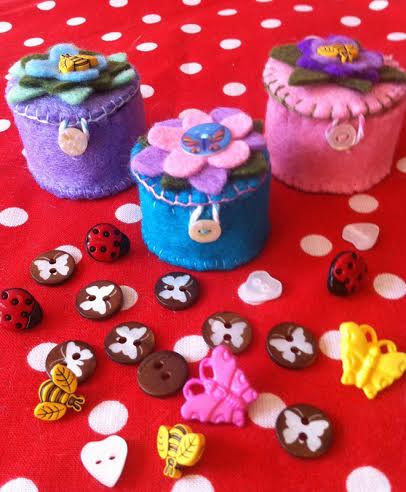
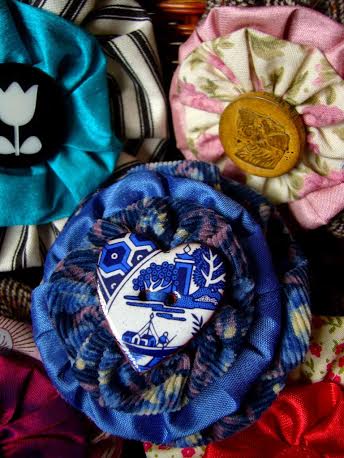
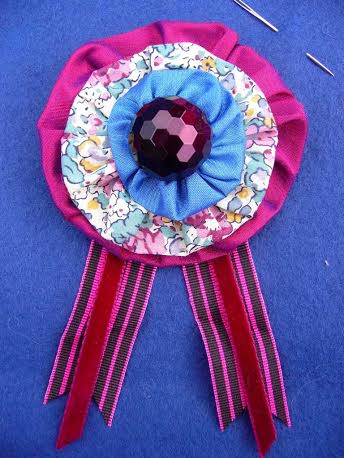
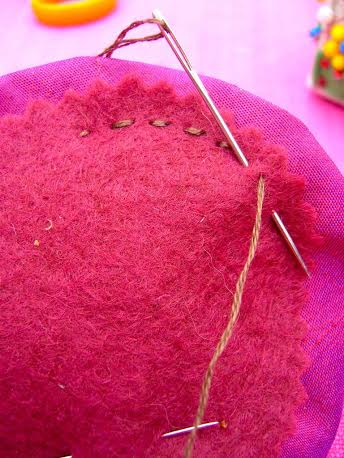
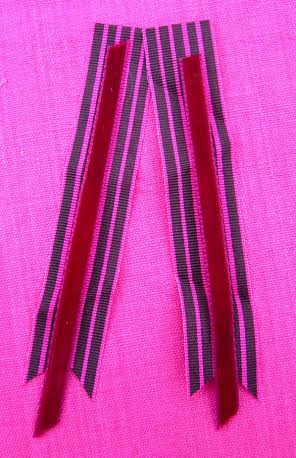
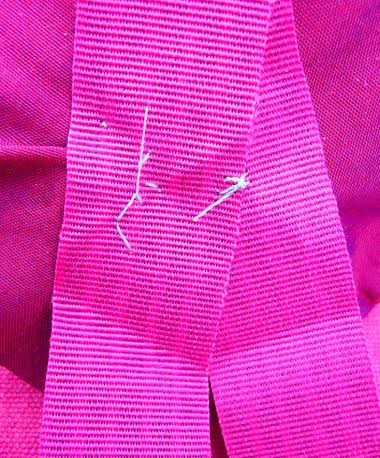
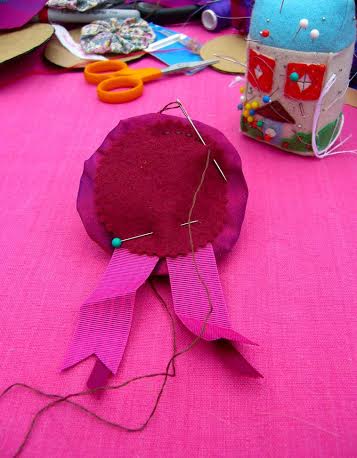
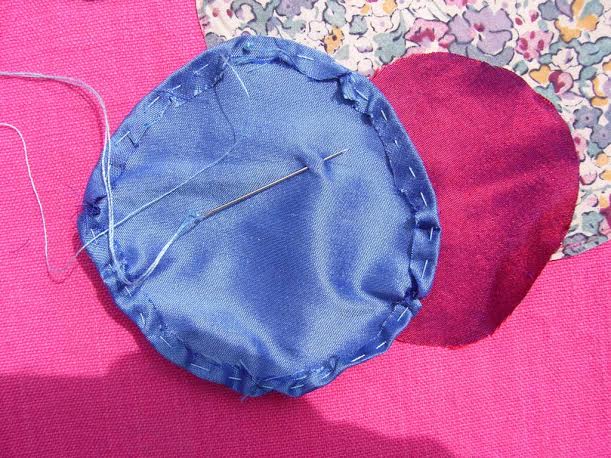
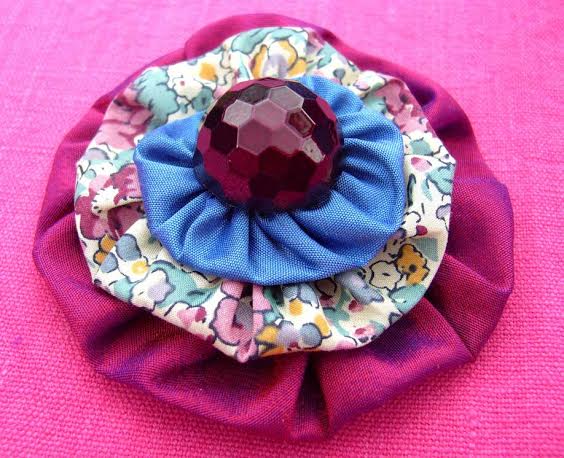
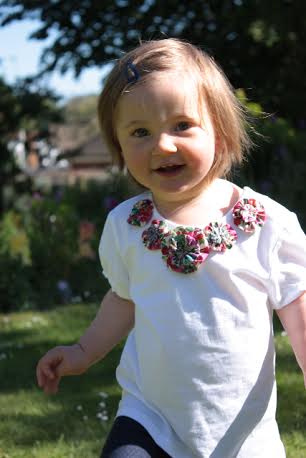
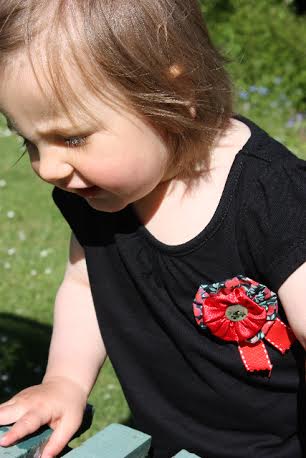
Sewing and embroidery projects allow family members of all ages to flex their creative muscles. Young kids can practice basic stitches on burlap or felt. Older children can try cross-stitch patterns or sewing simple items like pillows and tote bags. Teens and parents can take on more advanced embroidery hoops or make their own clothes. The great thing about sewing is that it can be as simple or complex as you want. Start with an easy kit that has pre-cut fabric and designs. As skills improve, move on to selecting your own materials and patterns. The finished products will be great memories for children you foster with Foster Care Associates.
Building Model Cars, Planes, and Rockets
Parents who want to share their love of mechanics and construction with kids will enjoy putting together model vehicles. Look for beginner kits of cars, planes, helicopters, ships, and rockets that snap together or use basic gluing. Teens may appreciate more challenging models with fine details and electronics. Not only does this teach hand-eye coordination and following instructions, but it opens up conversations about science and history.
Nature Crafts
Using materials found in nature is an eco-friendly way to craft with the whole family. Go on walks together looking for interesting flowers, leaves, seeds, feathers, rocks, sticks, seashells and more. Then get creative repurposing your finds into art and decorations. Make pressed flower cards, leaf rubbings, or collages. Arrange your nature collections in shadow boxes or frames. Use sticks and rocks to make sculptures or paint them bright colours. You can even make bird feeders by spreading peanut butter and birdseed on pine cones. Encourage children to use their imagination to invent new ways to use natural objects.
Melting and Moulding Crafts
Melting crayons, sculpting clay, and moulding plaster allow for all sorts of unique crafts. Young children can cut or break old crayons and watch them melt together to create colourful swirl art on canvas or cardstock. Air-dry clay allows sculpting without any baking. Let the whole family craft their own clay figurines and ornaments. For bigger messy fun, make your own plaster moulds using plastic cups, bowls, and packaging, then pour in plaster to create one-of-a-kind shapes. As the mould dries, the children can paint and decorate their plaster creations. Cover your workspace and wear old clothes for these delightfully gooey activities.
Making crafts as a family is not just about the end product. It’s about slowing down, being present together, and experiencing the joys and challenges of creativity. Find activities that play to each person’s strengths and let everyone go at their own pace. Stay flexible and keep a light-hearted attitude. With the right materials and guidance from parents, kids and teens can create memories to last a lifetime. So, put on some aprons, turn on some music, and let your family’s imagination run wild!
Guest post from our partner.